Decorating Tips
Find out how to prep the surface before you install wallpaper.
You will have heard the painting rule of not skimping on the preparation if you want a perfect paint finish. The same applies for wallpaper, with the surface preparation being the most important part if you are wanting a flawless finish and wallpaper that stays put for many years to come; and on the other hand, easy to remove when the times comes to change things up.
Different types of wallcoverings require different types of adhesive and different lengths of time to soak before installation. In addition to this, different types of wall surfaces require different types of surface preparation techniques to ensure a satisfactory finish. But one thing that is constant is that all walls are required to be clean, dry and sound with any imperfections in the surface being repaired and sanded smooth, and any existing wallpaper being removed.
Almost all problems associated with wallcovering failures are caused by either:
- Poor or incorrect surface preparation
- Use of the wrong viscosity of adhesive
- Using the incorrect adhesive for the product being hung
- Incorrect soaking and expansion time of wallcovering prior to installation
- Disregarding the manufacturers recommendations and instructions
The wallpaper drying process creates a great amount of torque on the wall surface, to prevent the wallpaper shrinking while drying. Therefore, wallpaper requires a stable surface. If the existing paint or sealer on the wall surface is weak, there is risk of the wallpaper pulling off the wall, creating an adhesion failure.
So how does an installer predetermine the quality of bond strength of an existing paint, or decide what type of sealer to use? There are a few ways to check.
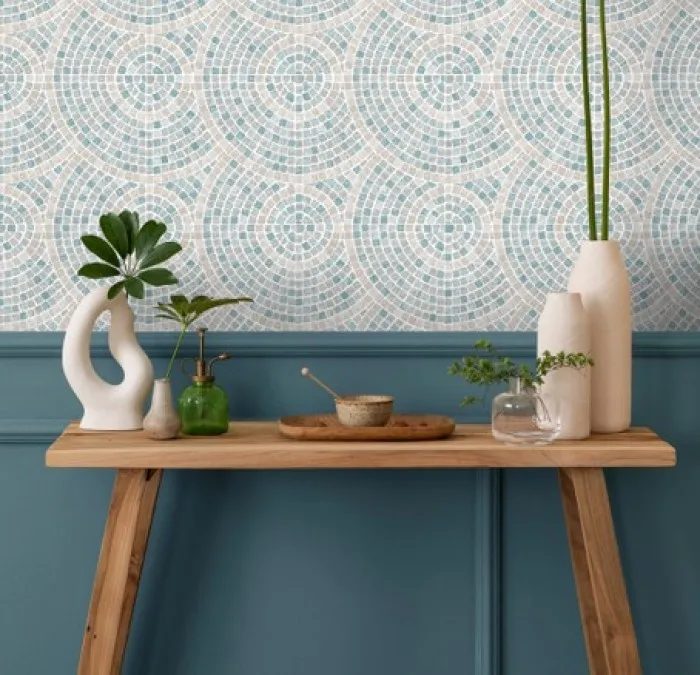
Artifice, M73601

Artifice, M76204

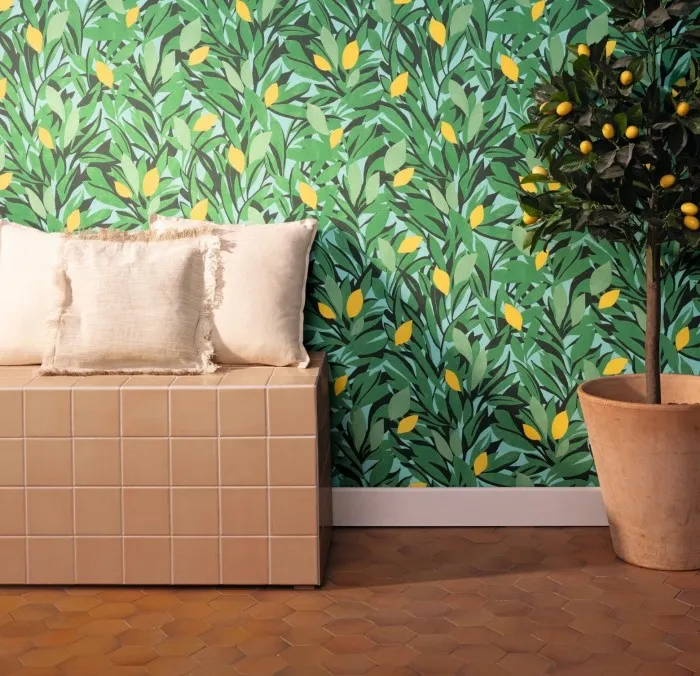
Aquila, ILA001
Rub Test
This requires a soft cloth dampened with a little methylated spirits. Rub the cloth vigorously over a small area for about 10 to 15 seconds. If the paint transfers to the cloth, it means the paint is water sensitive and will more than likely be adversely affected by the drying tension of the adhesive. If the paint transfers totally to the cloth during the test, and adhesion failure will definitely result.
Sponge Test
Simply tape a soft sponge moistened with water to the wall for about 15 to 20 minutes. Remove the sponge and wipe the surface with your fingertips. If the paint covers your fingertips, this would indicate that an adhesion failure could occur.
Bond Strength Test
This requires the installer to etch a small “x” on the surface of the wall using a sharp cutting knife (being careful to only etch into the paint surface, and not to cut into the wall). Next, apply a small piece of masking tape or other packaging tape over the “x” and give it a quick jerk. If the paint is stable on the wall, it should provide a good surface for the wallcovering. However, if the paint releases onto the tape, it probably will not be strong enough to withstand the torque and pressure associated with the drying process of the wallpaper adhesive. This will often be the case when there are multiple layers of paint present, or when a water-based paint has been applied over and oil-based paint.
If any of these test show an unstable surface, not to fret! In the case of water sensitive paints, coating the surface with a slower drying pigmented sealer is recommended.
Azur, AZU105457720
Azur, AZU105430903
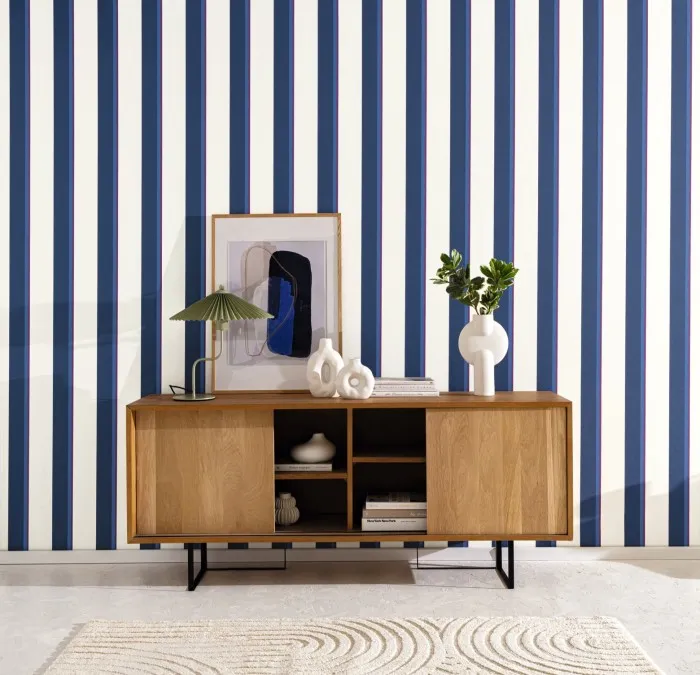
Graphic, GPC105530564
Oil Based Pigmented Sealer
Oil based Pigmented Sealer is required for a few reasons:
- To penetrate and seal water-sensitive paint, and also lock down any plaster repairs
- To prevent the over absorption of size and paste which can lead to the edges lifting
- To hide contrasting colours on the surface, preventing show through
- To allow the wallpaper to be more easily removed in the future
Once the Pigmented sealer has been applied and it has had sufficient time to try, the surface should be sanded. The remaining chemicals help to hide the colours and contracts of the surface, which is very important especially for light coloured ‘paste the wall’ wallpapers.
Size
Once the surface has been given the appropriate preparation, a coat of size should be applied. There are two different types of size available:
- Granulated sized: recommended under non-woven (‘Paste the Wall’) wallpapers. Wallpaper can be hung as soon as it is dry.
- Latex size: recommended under paper backed (‘non-pasted’ or ‘pre-pasted’) wallpapers. Needs 2 hours to cure before wallpaper can be hung.
Both types contain ingredients to prevent mould, but also have many other advantages:
- Gives a longer wet life of the product, so the product stays workable longer
- Gives more slip and slide, so makes it easier to position during hanging
- Holds down the seams
- Helps prevent seams/joins opening
- Adds to the adhesion of wallpaper to the wall
- Makes it easier to remove the wallpaper when time comes to redecorate
- Protects the wall surface during the stripping process
Size will only be active on the surface for up to 3 days.
Once the surface has been coated with size, you are then ready to begin wallpapering.
Paste
Like size, different pastes are required for different wallpapers. This is because of the different backing papers wallpapers are manufactured with, and therefore different physical weights and thicknesses of the wallcoverings.
Visit us in-store
Ask the friendly team at your local Guthrie Bowron store to find out what wall preparation, size and paste is right for you.